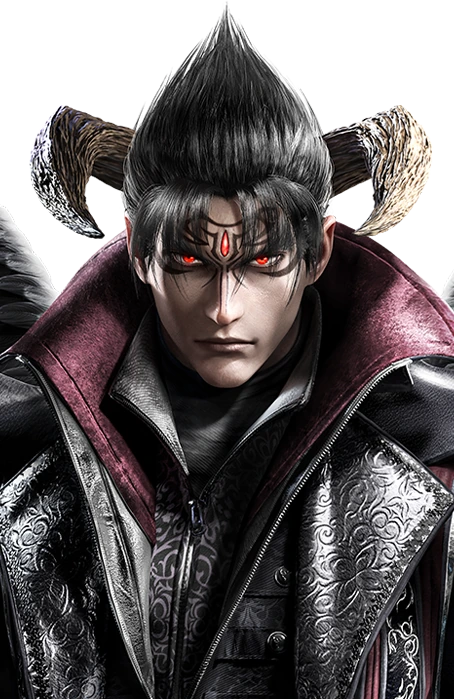
Combos
Starter
Most Important
- WS

 u+1+2f,n,d,df+3+4~F MCR 4,1f,n,d,df+3+4~F MCR 2
 - EWGF (f



 2)EWGFf,n,d,df+3+4~F MCR 4,1(dash) f,n,d,df+3+4~F MCR 3 T!f,n,d,df+3+4~F MCR 2,2
  df+21f,n,d,df+3+4~F MCR 4,1(dash) f,n,d,df+3+4~F MCR 3 T!f,n,d,df+3+4~F MCR 2,2
- CH b
 1+4f,n,d,df+3+4~F MCR 4,1(dash) f,n,d,df+3+4~F MCR 3 T!f,n,d,df+3+4~F MCR 2,2
 (f+3) MCR 4,1(dash) f,n,d,df+3+4~F MCR 4,2,1,U
- LOW PARRYws+3~F MCR 4,1(dash) f,n,d,df+3+4~F MCR 4,2,1,U
More Combos
- sidestep 2u+1+2f,n,d,df+3+4~F MCR 4,1(dash) f,n,d,df+3+4~F MCR 3 T!f,n,d,df+3+4~F MCR 2,2

 FLY 1f,n,d,df+3+4~F MCR 4,1(dash) f,n,d,df+3+4~F MCR 3 T!f,n,d,df+3+4~F MCR 2,2
- FLY 1(dash) EWGF2f,n,d,df+3+4~F MCR 4,1(dash) f,n,d,df+3+4~F MCR 3 T!f,n,d,df+3+4~F MCR 2,2
- (12)
 1+4f,n,d,df+3+4~F MCR 4,1(dash) f,n,d,df+3+4~F MCR 3 T!f,n,d,df+3+4~F MCR 2,2
 - (14)u+1+2f,n,d,df+3+4~F MCR 4,1f,n,d,df+3+4~F MCR 2
- heat on uf~
 EWGF2f,n,d,df+3+4~F MCR 4,1(dash) f,n,d,df+3+4~F MCR 3 T!f,n,d,df+3+4~F MCR 2,2
 - heat on [ 4~3 ](f+3) MCR 4,1f,n,d,df+3+4~F MCR 4,2,1,U
Key Moves
 Fast attack to start offense and check situations. Bot h 1,1 ,2 an d 1,2 ,2 can be hit confirmed, making the first two hits of the string great for poking.
- Mid attack to check situations. It has two extensions can be used to discourage opponents from retaliation after the first hit is blocked.
 A safe mid counterhit launcher. Use it to fish for counterhits while pressuring the opponent. It also hits grounded, making it great as an okizeme tool.
- 3 and dbUse d+3 to harass the opponents. The pushback is great for setting up whiff punishes. db+2 can be used to high crush your opponents high pressure buttons.
- Quick mid with excellent tracking. The extensio n b,f+2,1 ,2 can be used as a rekka, whil e b,f+2 ,3 can thrown out from time to time or at the wall for a wall splat.
 Unseeable low launcher that is the core of Devil Jin's high risk/reward mixup, along wit h ws +2 and other mid options.
- EWGFA high launching attack with many applications in the neutral It's important for punishment, but can be used for approach and as a keepout button. Don't neglect it.
Heat Engagers
- Risky but very evasive heat engager.
- Mostly useful in punish situations.
 Safe mid attack that crushes lows very early in its animation. Very useful at the wall.
- Your main approach tool to control the midrange space. Launches when using heat dash.
- MCR 2Homing heat engager from stance. Useful as a guaranteed follow-up after certain attacks.
Command Grabs

 1 escape
 2 escape
- 1+2 escape
- 1+2 escape
Block Punishers
| Startup | Standing | Crouching |
|---|---|---|
| 10 | 2 1 | FC d |
| 11 | ― | WS |
| 12 | | ― |
| 13 | 2 df4 (range) | WS2 ws4 NEW |
| 14 | 3 (heat) | WS |
| 15 | 4 EWGF | ― |
| 16 | 4 (range) | ― |
Suggested Whiff Punishers
- EWGF
Guaranteed Follow-ups
- CH (df1)
- CH db-
- (half charged)-
- (dash) b
- CH db(dash) b
- MCR 1
- [ 4~3 ]
- CH b
- MCR 2
- (ws1)MCR 2
- CH dfMCR 2
- CH (ws1)MCR 2
- 2 ― df
- CH ws2 ― b3 (heat)
- CH wsMCR 3
- CH (df1)~MCR 3 ⏵ b
- heat on b~4 ― f
- heat on b~4 ― f
- heat on MCR 2~4 ― f
Defensive Options
- 3 (or b4)Has power crush properties
- Power crush
Matchup Punishment
- SlideWS3 float
- Asuka's b+3
- Kazuya db+1,24 ― EWGF
- Ling RDS f+3+4,3+4
- Ling AOP 3+4WS3 float
- evade Leo's b+1,4sidestep left the 2nd hit
- Paul's Deathfist
- Demoman (3rd hit)
- Alisa's b+3+4,(3+4)...
- Claudio's f+2,2(dash) uf
- Kuma's f,f+2
- Heihachi's f,f+2
- Jack's d+1+2
- Jack's df+1,2,1,2
- King's JGS 4WS3 float
Notes
- MRC 3 (low wall hit) ⏵ b+4