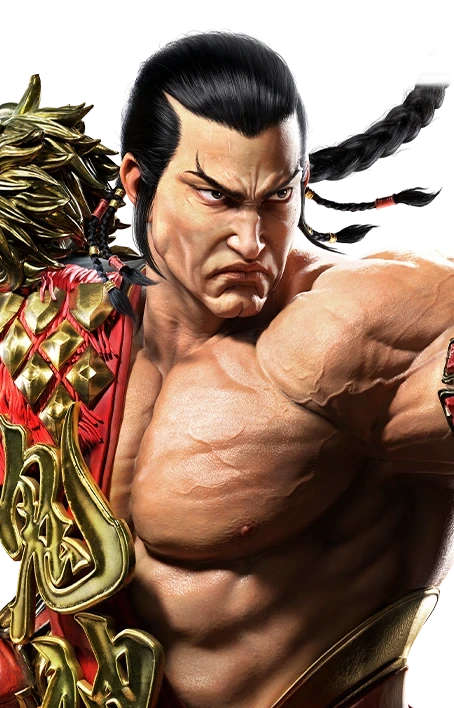
Combos
Starter
Most Important


 df+4,3b+4,2~DF 2 T!uf+3(dash) 3,1+2
 f,f+4,3 (delay 2nd hit)b+4,2~DF 2 T!uf+3(dash) 3,1+2
 uf+3b+31db+1,2,4
More Combos
- [ 3~4 ]df+4,3b+4,2~DF 2 T!uf+3(dash) 3,1+2
- CH [ 4~3 ]b+4,2~DF 3b+4,2~DF 2 T!uf+3(dash) b+1+2
- STC 1(dash) df+4,3b+4,2~DF 2 T!uf+3(dash) 3,1+2
 df+1b+4,2~DF 2 T!uf+3(dash) 3,1+2
 uf+3b+31db+1,2,4
- heat on f

 ~
~ f,f+4,3 (delay 2nd hit)df+4,3b+4,2~DF 2 T! uf+3(dash) 3,1+2
Key Moves
 Fast attack to start offense and check situations. Us e 1 ,2 o r 1 ,3 to safely test if a move is punishable on block. 1 ,1 is also a very strong extension to check aggressive opponents, potentially counterhit launching them.
 Very fast high you can use as a strong panic button and to check opponents overextending on their offense. It becomes enhanced and safer to use during Heat.
- Mid poke to harass the opponent.
- Fast mid poke to check opponents sidestepping to Feng's weak side. During heat, you can use the b+4,3+4 extension for pressure and back turned mixups.
- A mid knee attack that can be used for pressure. You can shift to crouch dash by inputtin g b+3,DF
- Safe mid launcher you can use for mixup situations but also to hit opponents on the ground.
- 3 and dHigh crushing lows to harass the opponent . db+ 3 is stronger but riskier, so use d+2 when you want a safer option
- BKP (b4)Use this stance in the midrange to create whiffs when you expect the opponent's approach. Can also be used along with moves with pushback on block to create spacing traps.
Heat Engagers
- Safe long reaching mid that is safe on block. Useful for approaching and fishing for Heat engager in the midrange.
 Quick shoulder. Mostly useful for punishment situations as it's very unsafe on block.
- WSMostly useful as a punish from a crouching position.
- BT 2Safe heat engager from backturn stance.
- BKP 2Fast attack out of Kenpo stance. Useful for punishing opponents after making their attacks whiff with Kenpo.
Command Grabs
- 1+2 escape
- BT 23 (or BT b4)1+2 escape
- BT 11 escape
- BT 22 escape
Block Punishers
| Startup | Standing | Crouching |
|---|---|---|
| 10 | 3 ― 12 heat on b | FC d |
| 11 | ― | WS |
| 12 | | ― |
| 13 | | WS2 ws3 (heat) |
| 15 | 4 df3 (range) | WS |
| 18 | | FC df |
| 21 | | ― |
Suggested Whiff Punishers
Guaranteed Follow-ups
- CH b
 crouch dash 1
 - CH b(dash) b
- heat on b(dash) b
- CH (f3)(dash) b
- CH (ws2)(dash) b
- CH BT 1(dash) b
- CH ub(dash) b
- 2 (parry)
- BT 1
- CH d
- CH STC 4
- [ 4~3 ]
- [ 4~3 ]
- CH BT dFC df
- CH BKP 1FC df
- (f4)

- STC 1
- STC 3BT d
- CH (33)BT d
- heat on b~
- heat on ws~
 3 ― 1
3 ― 1- heat on f-
- (guard break) NEW-
Defensive Options
- Has parry properties
- must absorb two hits for the follow-up to come out
- Has punch parry properties
- WSHas punch parry properties
- 3 (or b4)Reversal
- Power crush
Matchup Punishment
- SlideWS1 or uf3 float
- Asuka's b+32 (close) ― f
- Kazuya db+1,2
- Ling RDS f+3+4,3+4
- Ling AOP 3+4WS1 or uf3 float
- evade Leo's b+1,4...
- Paul's Deathfist2 (close) ― db
- Demoman (3rd hit)...
- Alisa's b+3+4,(3+4)...
- Claudio's f+2,2...
- Kuma's f,f+2...
- Heihachi's f,f+2
- Jack's d+1+2...
- Jack's df+1,2,1,2...
- King's JGS 4FC df1 float
Notes
- Moves such as b1 and f2 are enhanced Gains access to df4 and 34 for pressure
- f+3,2 ⏵ b+1+2
- heat on b+4,3+4 ⏵ BT d+3 (or BT d+3)