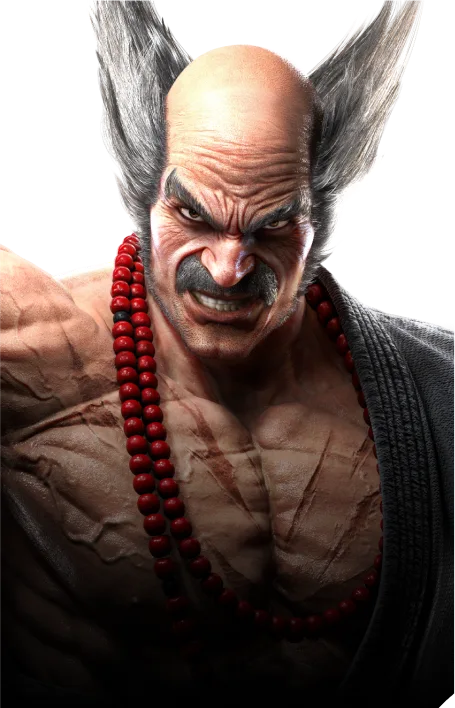
Combos
Starter
Most Important
- EWGF (f




 2)EWGFf+3df+1f+3~D FUJ.2f,n,d,df+4,3
 - wall carry routeEWGFf+3~D (df) 4,4,1f+3~D FUJ.2 T!f,n,d,df+4,3

 (dash) EWGFf+3df+1f+3~D FUJ.2f,n,d,df+4,3
- LOW PARRYb+2 (perfect)f,n,d,df+4,4,11,b+2,4
More Combos
- 4 (hold)b+2 (perfect)f,n,d,df+4,4,11,b+2,4
- Warrior df

 b:2 (perfect)f,n,d,df+4,4,11,b+2,2OTGF
 - RAI 2(dash) EWGFf+3df+1f+3~D FUJ.2f,n,d,df+4,3
- (f4)
 f+3df+1f+3~D FUJ.2f,n,d,df+4,3
 - CH ff,n,d,df+4,n,4f+3df+1f+3~D FUJ.2f,n,d,df+4,3
Wall Combos
- df+3,1+2,1
- b+3,21+2
Wall Carry
- b:2 (perfect) for short distance, b+1,4 and f,n,d,df+4,3 for long
With Tornado
- b+1,4 T!df+3,1+2,1
- f,f+2 T!b+3,21+2
Heat Burst Ender
- after T!, b:2 (perfect)(dash)Heat Burstender
Wall / Floor Break
- end with qcf+2 to break walls and d+3 to break floor
Key Moves
- Fast attack to start offense and check situations. Both 1,1 and 1,b+2 are great extensions for poking.
- Mid attack to check situations. df+1,1 can be used to check sidestepping opponents while df+1:2 can be charged and is useful for pressure.
- Useful button to pressure opponents at the wall. It allows you some follow-ups on counterhit and when it hits crouching opponents. You can shift to FUJ stance by pressing down.
 Your main tool to fish for counterhits. Careful not to whiff.
- A risky launcher that is useful to hit grounded opponents.
- ~
 Long range mid that can shift to FUJ stance. It doesn't give you advantage on block, so it's a good idea to cancel the stance by pressing DF~B if you don't wanna gamble with a stance option.
  2 ― dbLow options to chip at the opponent's health.
- Heihachi's hellsweep has many different follow-ups The single hit is a good button to pressure opponents and leads to a combo on counterhit.
- EWGFA high launching attack with many applications in the neutral It's important for punishment, but can be used for approach and as a keepout button. Don't neglect it.
Heat Engagers
- Useful for block and whiff punishment. Can also be used in combos.
 Safe mid attack for approach, also useful as a punish in specific cases.
 Good whiff punisher, especially when Heat is active.
- Has sabaki properties, great defensive tool.
- FUJHeat Engager from stance. Mostly useful as a guaranteed follow-up after f+3~D on hit.
Command Grabs
- 1+2 escape
- RAI3 (or 24)unescapable
- FUJ3 (or 24)unescapable
Block Punishers
| Startup | Standing | Crouching |
|---|---|---|
| 10 | 2 1~D (mixups) | FC d |
| 11 | | WS~ |
| 12 | 2 12 (mid) | ― |
| 13 | 2 df1:2 (perfect) Warrior df | WS |
| 14 | 3 d2 (range) | ― |
| 15 | EWGF df1 Heat Smash | FC df |
Suggested Whiff Punishers
- 2 (heat)
- EWGF
Defensive Options
- Power crush
- heat on dbPower crush
 Has punch parry properties
- Mid and High attack reversal
- FOLLOW-UPS
- ~FUJ.1,1
- 2 CH wsdf+4,2 (wallsplat) ― b+1,4 Warrior df+2,1
- WS1 b2 (hold) CH (d1)2 CH sidestep 2
- qcf+2
- OTGF
- ~F (hold) f~F CH (d1)2 CH sidestep 2RAI.1
- 4 f
 3 FC df4 (clean) CH (b1)4 CH ub2 or ub2 (hold)
 - f,f+2 ― OTGF
- RAI 2 (guard break)1,1,2 (wallsplat) ― 1,2,2~D
- heat on d~F heat on b~
 qcf+2 ― OTGF
 - heat on FUJ.1~d+4 ― OTGF
- Warrior 1f,f+2
- CH ff,f+2 ― (dash) OTGF heat on d+3,2
- CH f~FUJ.4 ― (df) crouch dash 1
- 4 ― f~D (on crouching opp)df+4,2 (wallsplat) ― df+3,1+2,1 FUJ 2
Matchup Punishment
- SlideWS4 float
- Asuka's b+32 ― f
- Kazuya db+1,22 ― f
- Ling RDS f+3+4,3+4
- Ling's AOP 3+4WS4 float
- Ling's ub+3
- evade Leo's b+1,4ssl before 2nd hit
- Paul's Deathfist2 ― f
- Demoman (3rd hit)
- Alisa's b+3+4,(3+4)1:2
- Alisa's b+4,4
- Eddy's f,f+4
- Claudio's f+2,22 (long dash)
- Kuma's f,f+22 ― f
- Heihachi's f,f+2
- Jack's d+1+2
- Jack's df+1,2,1,2
- King's JGS 4